Email communication is undeniably the cornerstone of business operations. However, it is far more complex than creating the content of an email and pressing the send button. What happens if an important email ends up in the recipient’s spam folder or, worse, if spammers use your domain to send unauthorized emails? If your organization relies on Office 365 to send emails, implementing the Sender Policy Framework (SPF) is the primary layer of defense through email authentication methods to tackle such situations.
By defining the mail servers and the IP addresses (ipv4 and ipv6) authorized to send emails on your behalf, you can significantly reduce the risk of phishing attacks and enhance senders’ email deliverability.
Setting up Sender Policy Framework (SPF) records in Office 365 involves a few key steps, and while the process may seem technical, it is essential for safeguarding your organization’s email integrity. Let us take you through the process of configuring SPF in Office 365, which will help you fortify your email infrastructure and protect your business from potential threats.

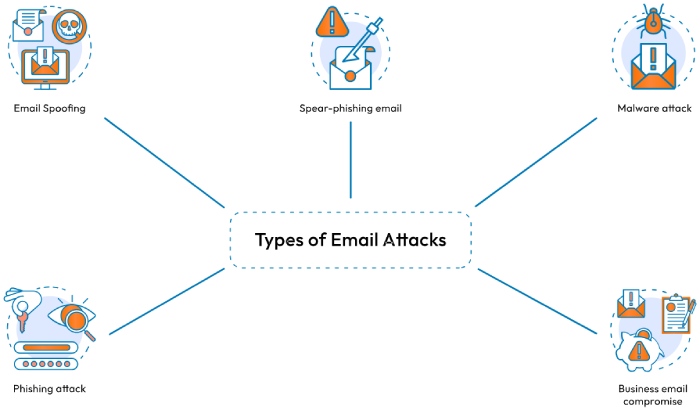
Image sourced from ssl2buy.com
Why Should You Configure SPF Protocol in Office 365?
As the Office suite continues to be one of the most preferred cloud-based productivity suites among service users, it also serves as a breeding ground for hackers and phishers to execute their nefarious strategies. Implementing a Sender Policy Framework Office 365 thereby becomes imperative for a multifaceted defense against the value of ever-evolving cyber threats. By defining authorized mail servers for a domain, SPF acts as a powerful shield against email spoofing while enhancing email deliverability and safeguarding the organization’s reputation.
What You Should Know Before Setting Up an SPF DNS Record for Office 365?
Before you go on to configure your SPF DNS TXT record in Office Suite, there are certain prerequisites that you should be aware of. Let us take a look at them!
- When creating an SPF DNS record in Office 365 for your custom domain, make sure that you do so on the external DNS (Domain Name System) instead of Microsoft’s internal DNS. So, it is imperative that you have access to it.
- To set up an SPF DNS record, you should also have access to the external IP addresses of all your on-premises mail server resources.
- If you’re using third-party services (like bulk mail providers) in your emails, it is crucial to list their domain names in your SPF record. Some of these providers use subdomains to organize and manage their customer emails, so including these domains in your SPF TXT record is also important to ensure legitimacy.

How to Configure Office 365 SPF Record?
Here’s how you can create an SPF record in Office 365 to enhance your email security.
Create/Update Your Existing SPF Record
If you do not have an SPF record in place, it’s about time you do it! As daunting as it sounds, you can create a TXT record by following a few simple steps!
On the other hand, if you already have an SPF record for your custom domain, all you have to do is update it. Since the TXT record is added to the external DNS, you’d need access to the DNS management console from your hosting provider (if you don’t handle the hosting yourself). Once you have access to the console, locate the SPF record for your custom domain to make a few alterations to include the Office 365 Sender Policy Framework (SPF). To ensure that the emails sent from Office 365 are not forged, it is crucial to use SPF with “include.” So make sure that your SPF record looks something like “include:spf.protection.outlook.com.”
Draft a List of the External IP Addresses
The next is to add mail servers and IP addresses authorized to send emails on your behalf. While adding the servers, include IP4 and IP6 mechanisms for enhanced security.
Publish SPF Record on DNS
After drafting the list of authorized mail servers and IP addresses, the penultimate step is to publish the updated SPF record on the public DNS. To do so, look for the option to add DNS records in your DNS management console and select the TXT record type. Now add the latest SPF information that includes Office 365 Sender Policy Framework along with the authorized mail servers’ IP addresses and save the changes.

Verify the SPF Record
Once you have published the record in the DNS, all you need to do is check it for any errors and loopholes. Since the Microsoft 365 Admin Center only checks for include:spf.protection.outlook.com, you would want to use a diagnostic tool to check the entire SPF record.
To ensure uninterrupted and efficient email communication from Office 365, it is imperative that your SPF is configured. Configuring your SPF record accurately for Office 365 can significantly enhance email authentication. This ensures that your outgoing messages are verified as legitimate and trusted by email servers, thus establishing a reliable reputation for your email infrastructure.
Furthermore, for comprehensive protection for your email ecosystem in Office 365, it is recommended to implement DKIM and DMARC, apart from configuring the SPF. These measures will help safeguard the system and protect sensitive information from potential threats.